
In one of our trips to Michael's, we saw some monogrammed hooks for just $4.99. Immediately I thought it would be a good idea to have a couple of them in the main entrance of the house. When I used to get home, I always placed my purse directly in my bedroom or if I was in a rush, I just dropped it on the couch. I needed a place to hang it so this project was very helpful to me. Now, not I just have a place to hang my purse, but we also have a place to hang umbrellas or jackets. Also, when we have guests we can place their belongings there. :)
The only problem with these hooks was that they were black and white. They didn't match my home theme colors at all.

They looked so off.....

So I knew I needed to make some changes to them, and immediately I started working on them. We bought 7 of them to spell Webster.
Materials I used:
1- 7 Hooks - Michael's
2- Blade
3- Matching Scrapbook Paper
4- Mod Podge
5- I tried to use some flower embellishments but I ended up not using them
6- Some acrylic colored drops
7- Cardboard Paper

First, I scraped all the initials and the back paper until I could see the wood.

Then, I measured, cut, and glued the scrapbook paper with the mod podge.

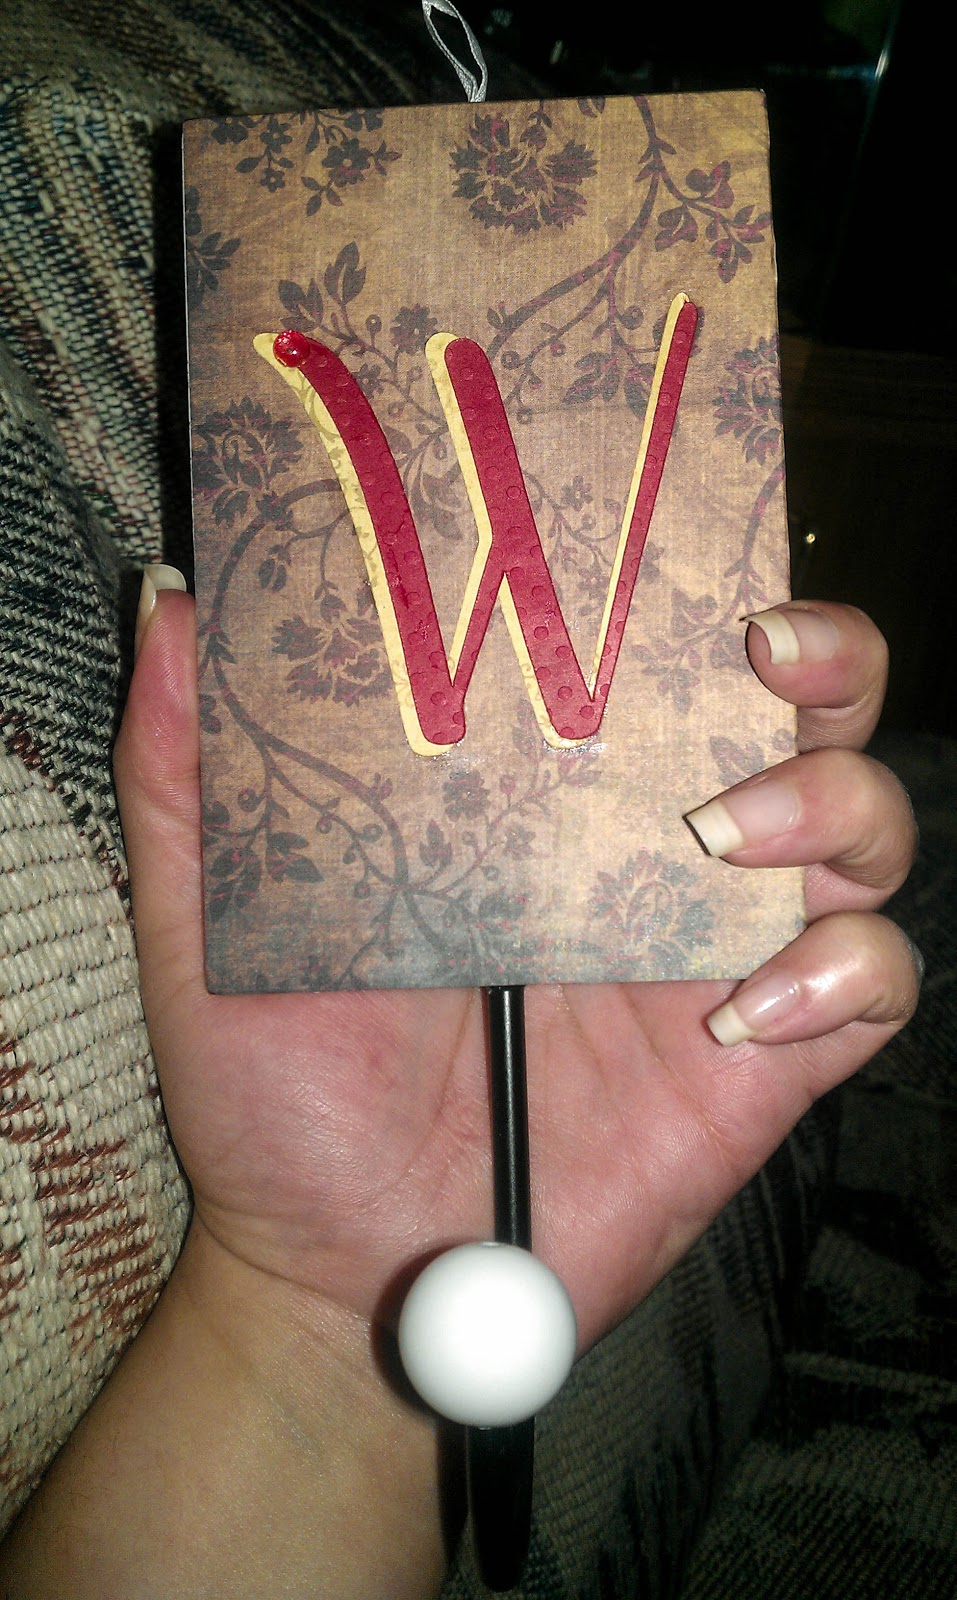
Then, I used my Cricut Expression Cutting Machine and some matching cardboard for scrapbooking and cut the letters.
Then, I again used the mod podge to glue the letters to the wood. And last, I used some acrylic red drops to accent the initials.I ended up with this:

Entrance Wall Before:

Entrance Wall After:

The leaves are a present my grandfather gave me and I have no idea where did he buy them.
Like it? Please, post your comment ;)